Classic Forms - How to Add a Picture to a Form

Written by Russell Fick
Updated at March 6th, 2025
(Before you get started, please note that images, regardless of their format, must he hosted on the internet or a cloud storage container such as GoogleDrive or Box. Images stored locally or in the PlayerLync platform cannot currently be leveraged by Form Manager.)
Once you’ve created a form (or are in the process of creating a form) in Form Manager, open the “Form Builder” tab and click “Edit” next to form you would like to add a picture. In this example, I will be adding a picture to a form called “How To Add Pictures To A Form”: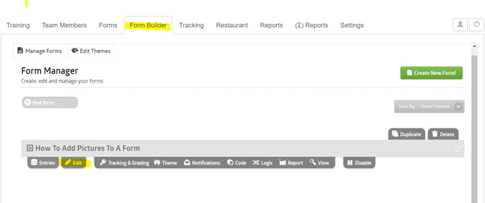
You will now be in edit mode for the form: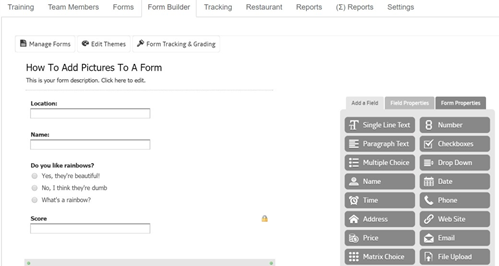
Find the field called “Section Break”: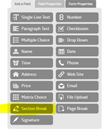
Add that field to your form by clicking and dragging it to your desired location in the form:
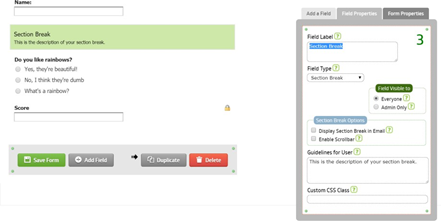
You will see a “Field Label” text box in the form builder with “Section Break” highlighted in blue. Please add your
caption or title to the picture here and you’ll notice the change will occur in the actual form to the left. In this
case, I’ll be adding a title called “PlayerLync Support Team”: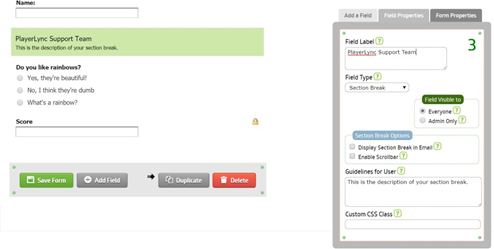
In the “Guidelines for User” text box, you will need to enter the following + the link to your image (in this case I will be adding a JPEG):
<img src="INSERT FILE NAME?maxheight=950&maxwidth=125&quality=80"height=400> In this example, the file name is http://www.learningstationmusic.com/docs/D_J2.jpg
The text will read:
<img src="http://www.learningstationmusic.com/docs/D_J2.jpg?maxheight=950&maxwidth=125&quality=80"height=400>
Once you have entered this into the “Guidelines for User” box, you’ll will see your image populate in the form to the left: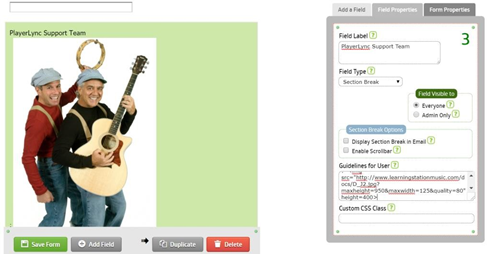
You have added a picture to your form! Simply click “Save Form” and you are done.
*If your picture is not the desired size in the form, you can play around with the “height” parameter and this will enlarge or shrink the image within the form. In the example above, changing the parameter to “height=800” will engage the image and changing the parameter to “height=100” will shrink the picture.
**Questions? Contact the PlayerLync Support Team (pictured above) at support@playerlync.com
On this page